TL;DR
- Write pure Assembly and C code for Arduino
- Make the firmware 10 times smaller!
- Setup avr utils in your linux environment
Get Started
Today we’re going to dive into low-level programming on a platform like Arduino, and especially AVR.
Let’s go all the way from vanilla C++ programming to low-level Assembly.
And this will lead us to reduce our firmware by as much as 10 times.
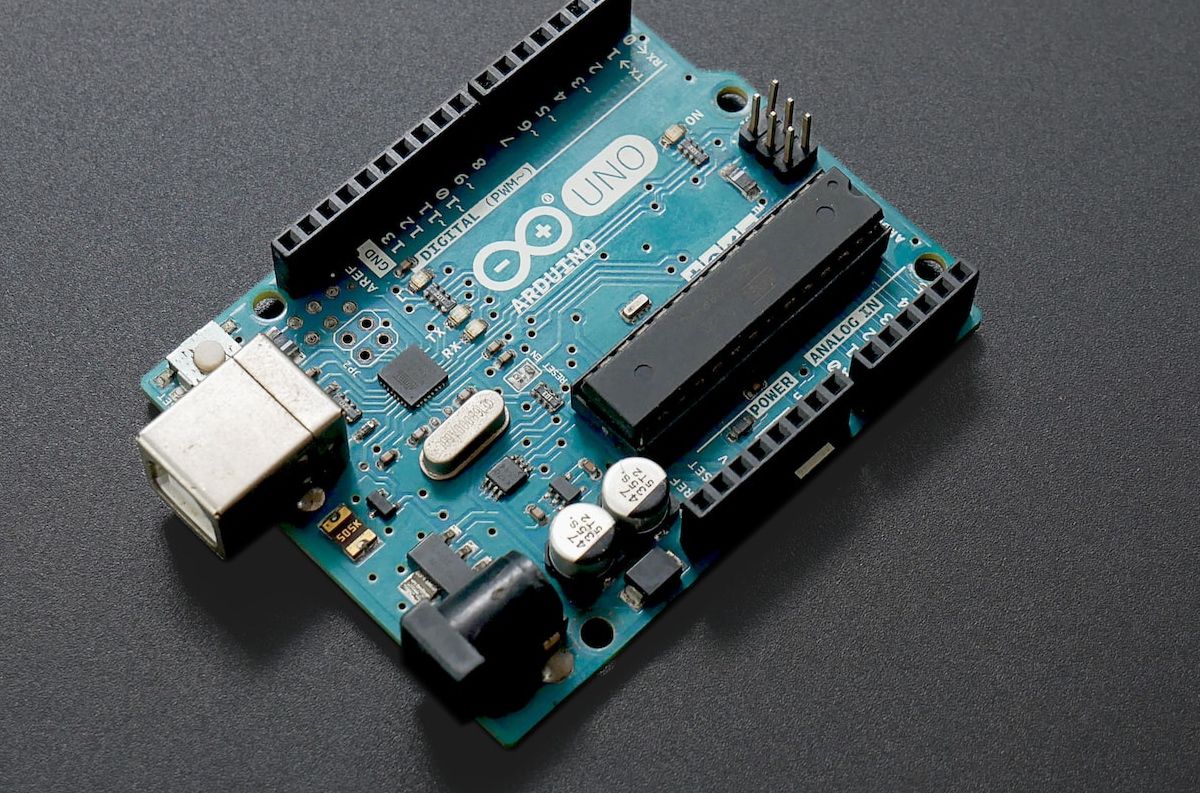
I will use Arduno Nano and Arduino Uno
Installing dependencies
It is already assumed that at least you are using Arduino IDE or PlatformIO.
To work with C and Assembly, we will need a special set of tools and libraries related to AVR.
Here’s how to install it:
sudo apt install gcc-avr binutils-avr avr-libc avrdudeC++
I think everyone has used the basic Arduino Framework at least once.
But in short:
#include <Ardino.h>
void setup()
{
    // initialize digital pin LED_BUILTIN as an output.
    pinMode(LED_BUILTIN, OUTPUT);
}

void loop()
{
    digitalWrite(LED_BUILTIN, HIGH);  // turn the LED on (HIGH is the voltage level)
    delay(1000);                      // wait for a second
    digitalWrite(LED_BUILTIN, LOW);   // turn the LED off by making the voltage LOW
    delay(1000);                      // wait for a second
}
Result (flash: 924 bytes)
C
My favorite and most interesting part is the C language.
And so, after installing the dependencies, we have a set of tools and libraries for the AVR platform.
gcc-avrAVR GNU C Compilerbinutils-avrDefault binutils for AVR platform such as as, strip, objdump …avr-libcAVR C Library including avr/io.h util/delay.h …avrdudeThe main flasher to flash firmware
Let’s write the same code that will control the built-in led. He is also as Blink.
#include <avr/io.h>
#include <util/delay.h>

#define MS_DELAY 1000

int main (void) {
    /*Set to one the fifth bit of DDRB to one
    **Set digital pin 13 to output mode */
    DDRB |= _BV(DDB5);

    while(1) {
        /*Set to one the fifth bit of PORTB to one
        **Set to HIGH the pin 13 */
        PORTB |= _BV(PORTB5);

        /*Wait 1000 ms */
        _delay_ms(MS_DELAY);

        /*Set to zero the fifth bit of PORTB
        **Set to LOW the pin 13 */
        PORTB &= ~_BV(PORTB5);

        /*Wait 1000 ms */
        _delay_ms(MS_DELAY);
    }
}
Compile
Compile object (This process can be used to write makefile)
Here we have 2 params. -DF_CPU=16000000UL for CPU clock aka 16MHz and -mmcu=atmega328p which mean MCU type in our case is Atmel Mega328p
avr-gcc -s -O2 -DF_CPU=16000000UL -mmcu=atmega328p -o main.o -c main.cLinking firmware
avr-gcc -s -mmcu=atmega328p main.o -o firmwareExtract hex representation from binary
avr-objcopy -O ihex -R .eeprom firmware firmware.hexAfter all we have HEX file with our firmware
Flash
Do not forget -D flag to save your arduino lifespan. -D used to DO NOT FORMAT all flash every upload.
Arduino Nano Work only with 57600 baud rate for my case.
avrdude -D -F -V -c arduino -p ATMEGA328P -P /dev/ttyUSB0 -b 57600 -U flash:w:firmware.hex -vArduino Uno Work only with 115200 baud rate for my case.
avrdude -D -F -V -c arduino -p ATMEGA328P -P /dev/ttyUSB0 -b 115200 -U flash:w:firmware.hex -vResult (flash: 176 bytes)
Assembly
And so now is the deepest part of this topic. Assembly. And so we have 2 ways to write all the assembly code ourselves or make the compiler do it for us. So, perhaps, we will choose the second one, so as not to drag it out for a long time. You can use the first way and write everything from scratch and start here↗
Let’s take our compiled firmware and extract assembly code from it:
avr-objdump -D firmware # we use binary file not hexjmp 0x68 ; 0x68
jmp 0x7c ; 0x7c
eor r1, r1
out 0x3f, r1 ; 63
ldi r28, 0xFF ; 255
ldi r29, 0x08 ; 8
out 0x3e, r29 ; 62
out 0x3d, r28 ; 61
call 0x80 ; 0x80
jmp 0xac ; 0xac
jmp 0 ; 0x0
sbi 0x04, 5 ; 4
sbi 0x05, 5 ; 5
ldi r18, 0xFF ; 255
ldi r24, 0x7B ; 123
ldi r25, 0x92 ; 146
subi r18, 0x01 ; 1
sbci r24, 0x00 ; 0
sbci r25, 0x00 ; 0
brne .-8 ; 0x8a
rjmp .+0 ; 0x94
nop
cbi 0x05, 5 ; 5
ldi r18, 0xFF ; 255
ldi r24, 0x7B ; 123
ldi r25, 0x92 ; 146
subi r18, 0x01 ; 1
sbci r24, 0x00 ; 0
sbci r25, 0x00 ; 0
brne .-8 ; 0x9e
rjmp .+0 ; 0xa8
nop
rjmp .-42 ; 0x82
cli
rjmp .-2 ; 0xaeCompile
Thx binutils we can compile our assembly code
avr-as -mmcu=atmega328p main.asm -o firmwareExtract hex representation from binary
avr-objcopy -O ihex -R .eeprom firmware firmware.hexFlash
avrdude -D -F -V -c arduino -p ATMEGA328P -P /dev/ttyUSB0 -b 57600 -U flash:w:firmware.hex -vavrdude -D -F -V -c arduino -p ATMEGA328P -P /dev/ttyUSB0 -b 115200 -U flash:w:firmware.hex -vResult (flash: 80 bytes)
Conclusion
And so we managed to reduce the size of the firmware even more than 10 times, I would say 10.5 :)
But will it be more than a simple experiment, or will it still be more convenient to use the super abstract C++?
Who knows…